Introduction
If you’ve ever searched for the best gluten free bread, you know the struggle is real. Too often, store-bought options are either too dry, too crumbly, or lack the satisfying chew of traditional bread. And let’s not even talk about the ones that taste like cardboard! The truth is, finding the best gluten free bread—one that’s soft, flavorful, and nutritious—can feel like searching for a needle in a haystack.
Texture, taste, and nutrition all play a crucial role in what makes a loaf truly enjoyable. A good slice of bread should have a golden, slightly crisp crust and a soft, airy interior—not something that falls apart at the touch. Beyond that, the best gluten free bread should also be made with wholesome, high-quality ingredients that offer both flavor and nourishment.
But here’s the secret: making or choosing the best gluten free bread isn’t just about picking any loaf labeled “gluten-free.” There’s a science—and a little bit of art—behind achieving the perfect balance of ingredients and techniques. Whether you’re baking at home or hunting for the best store-bought options, this guide will help you uncover what truly makes the best gluten free bread worth savoring. Let’s dive in!
Table of Contents
What Makes the Best Gluten Free Bread? (Ingredients)
When it comes to the best gluten free bread, the ingredients you choose can make all the difference. Unlike traditional bread, which relies on gluten for structure, the best gluten free bread is created by carefully selecting a combination of gluten-free flours, binders, and leavening agents. Each ingredient has a unique role in ensuring the texture, taste, and nutrition of the bread is just right. Let’s explore the essential ingredients and how they come together to make the perfect loaf.
Key Ingredients for a Perfect Loaf
For the best gluten free bread, you’ll need the following key ingredients, carefully measured to get the right balance for texture and flavor:
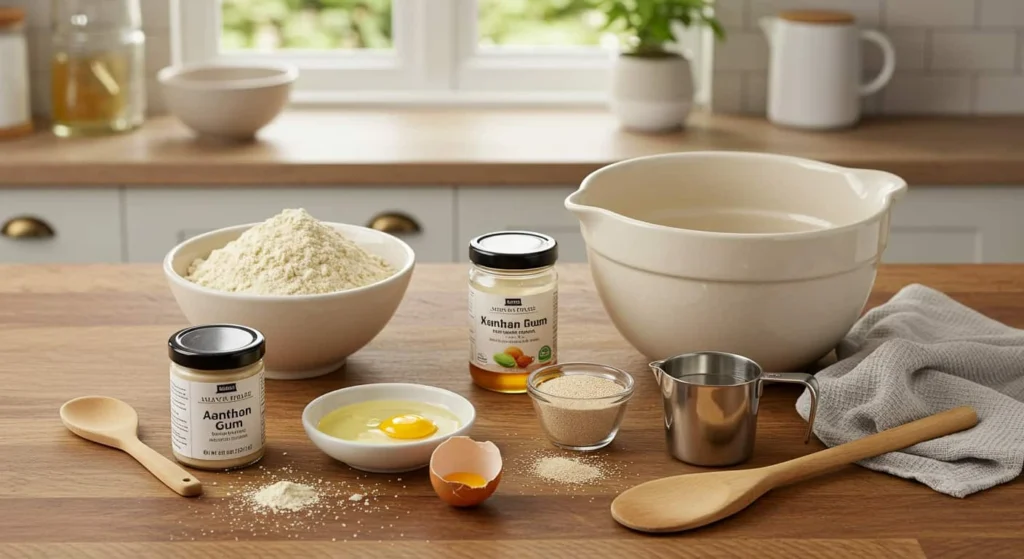
- 2 cups of almond flour – Adds moisture and a subtle nutty flavor.
- 1 cup of rice flour – Provides a light, airy texture.
- 1/2 cup of sorghum flour – Adds a slightly earthy flavor and enhances the structure.
- 1 tablespoon of xanthan gum – Acts as a binder to replace gluten, helping the dough hold together.
- 1 tablespoon of psyllium husk powder – Helps absorb moisture, giving the bread a chewy, elastic texture.
- 1 teaspoon of salt – Enhances flavor and helps regulate yeast activity.
- 2 teaspoons of instant yeast – Responsible for the rise and lightness of the bread.
- 2 large eggs – Add richness and structure to the dough.
- 1 cup of warm water – Activates the yeast and helps bind the ingredients.
- 1 tablespoon of honey – A touch of sweetness that balances the flours.
Each ingredient has a specific purpose that contributes to creating the best gluten free bread. Now, let’s break down how these ingredients come together to produce the soft, flavorful loaf you’ve been searching for.
The Role of Gluten-Free Flours
Flour is the foundation of the best gluten free bread, and the right mix of flours ensures the perfect balance of texture and flavor. In our recipe, the combination of almond flour, rice flour, and sorghum flour plays a pivotal role:
- Almond flour (2 cups) is key for adding moisture and tenderness. It helps the bread stay soft and fresh longer and provides a subtle, slightly nutty flavor that pairs well with the other ingredients.
- Rice flour (1 cup) is the lightest of the gluten-free flours and contributes to the airiness of the best gluten free bread. It ensures the loaf isn’t too dense.
- Sorghum flour (1/2 cup) adds a bit of a hearty, whole-grain flavor while also contributing to the structure of the bread. It enhances the overall mouthfeel and ensures the loaf isn’t too crumbly.
Together, these flours create a balance of moisture, lightness, and structure, which is essential for the best gluten free bread. Using a combination of flours is the secret to getting that soft, fluffy texture that gluten-free bread often lacks when made with just one flour.
Importance of Binders (Xanthan Gum & Psyllium Husk)
Since gluten is absent in gluten-free bread, binders like xanthan gum and psyllium husk powder are essential to achieve the texture and elasticity of the best gluten free bread.
- Xanthan gum (1 tablespoon) acts as a binding agent. It gives the bread structure and elasticity, helping it rise and hold its shape. Without it, gluten-free bread would be too crumbly and difficult to slice.
- Psyllium husk powder (1 tablespoon) absorbs moisture, making the dough more pliable and the texture more chewy. It also helps trap air during baking, allowing the bread to rise properly and become light and airy.
Both xanthan gum and psyllium husk help the best gluten free bread achieve that perfect balance of structure and softness, creating a loaf that holds together without being too dense or crumbly.
How to Make the Best Gluten Free Bread at Home
Making the best gluten free bread at home can seem daunting, but with the right approach, it’s easier than you think. Imagine pulling a fresh, golden-brown loaf out of the oven, with a soft, airy interior and a perfect texture that’s both chewy and light. Whether you’re baking for yourself or loved ones, you’ll be surprised at how simple it can be to make gluten-free bread that tastes better than store-bought versions.
Step-by-Step Gluten-Free Bread Recipe
To make the best gluten free bread, you’ll need to follow a step-by-step process to get that ideal texture and flavor. Here’s how you can do it:
- Prepare Your Dry Ingredients: Start by combining your gluten-free flours and other dry ingredients, such as xanthan gum and psyllium husk powder. Mixing these ingredients well ensures that your bread has a smooth, consistent texture, which is key to achieving the best gluten free bread.
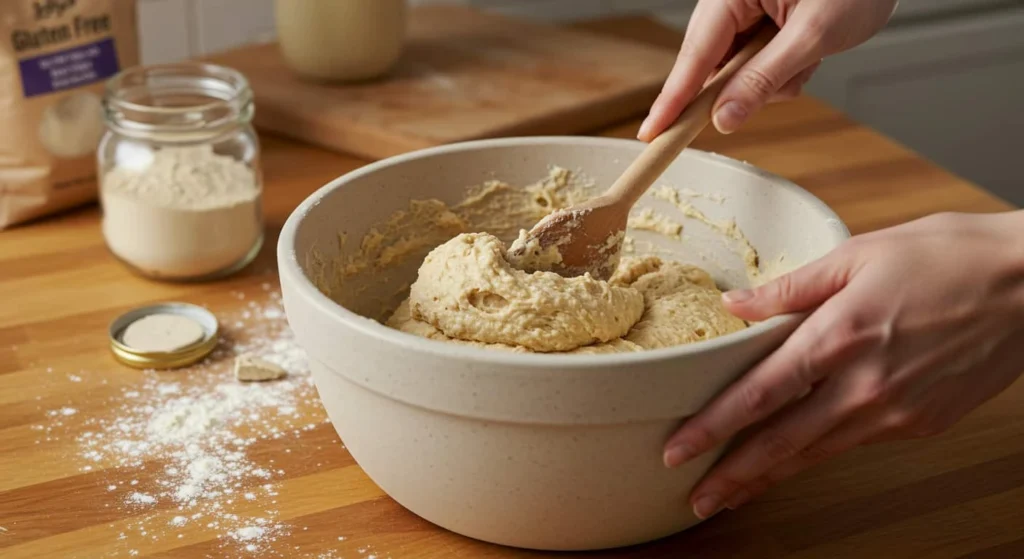
- Activate Your Yeast: Warm water combined with a little honey helps activate the yeast, encouraging a proper rise. This step is crucial, as the yeast is what gives your bread its fluffiness. Once activated, add it to the dry mixture and stir until you have a thick, slightly sticky dough.
- Mix and Knead: Gluten-free dough will feel different from traditional dough—it should be soft, but not as firm or elastic as wheat-based bread dough. Don’t worry, this is perfectly normal! Mix the dough thoroughly to ensure everything is well combined, then transfer it to a greased loaf pan.
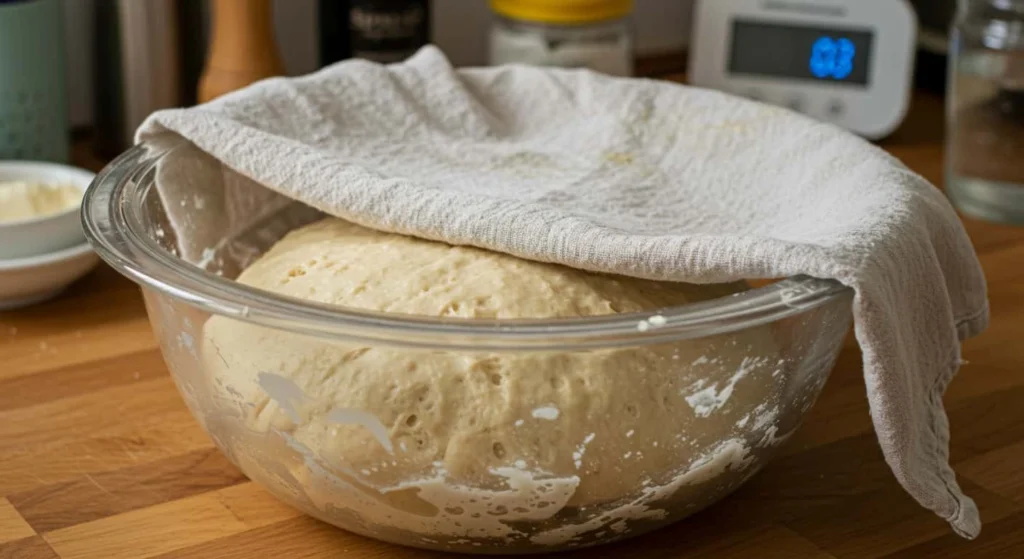
- Let it Rise: Patience is key when it comes to making the best gluten free bread. Cover your dough and let it rise for an hour to an hour and a half. The yeast will work its magic, and you’ll see your dough double in size. Don’t rush this step, as proper rising helps give the bread its light texture.
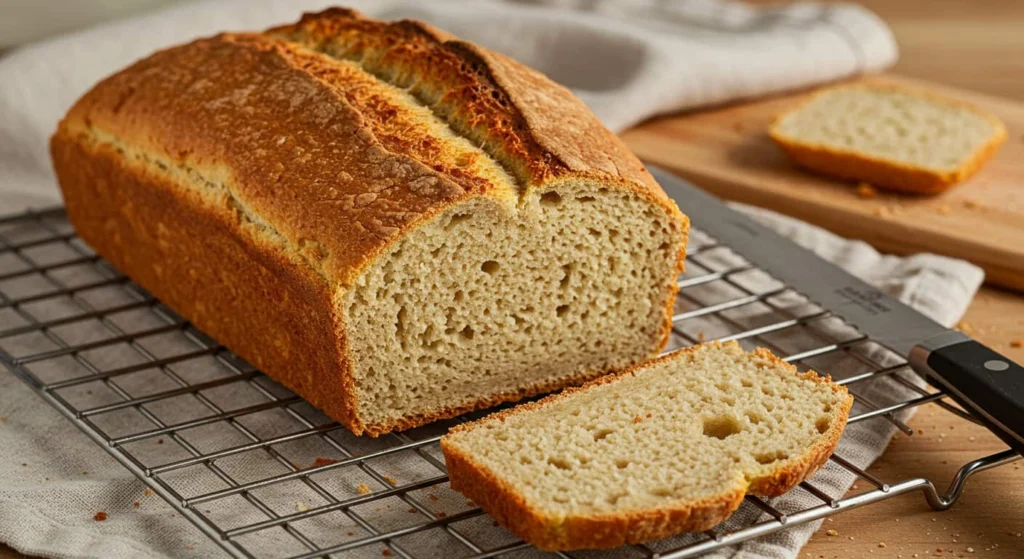
- Bake: Preheat your oven and bake the bread until it reaches a golden brown color on top. The texture should be soft, with a slightly crisp crust. After baking, let the bread cool completely before slicing it. This cooling period is crucial to help the bread set, so it doesn’t fall apart.
Baking Tips for Perfect Gluten Free Bread
To bake the best gluten free bread, avoiding common mistakes is essential. Here are a few tips:
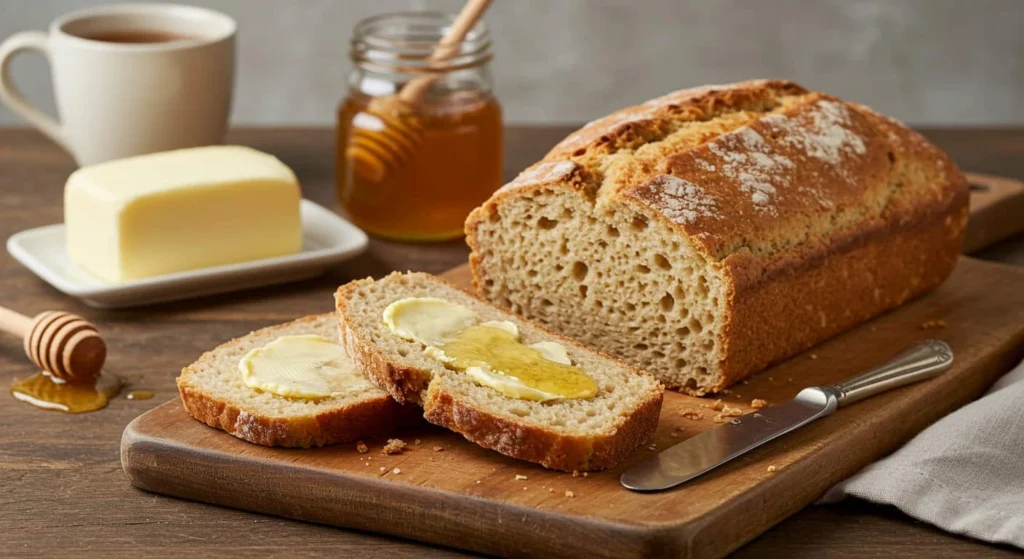
- Too Dry or Dense: If your bread turns out too dry, you might not have used enough moisture. Gluten-free bread needs extra hydration, so don’t skimp on the liquids. Additionally, ensure that your dough isn’t too thick; it should still be sticky, which helps the bread rise properly.
- Falling Apart: Gluten-free bread is more fragile than traditional bread, so be mindful of over-mixing or not using enough binder. Psyllium husk and xanthan gum are essential for keeping your loaf together, so make sure you’re using the right amounts.
- Underproofing: One of the most common mistakes when making gluten-free bread is not allowing enough time for the dough to rise. Gluten-free bread requires more time to reach its full potential, so be sure to rest the dough for the full recommended time.
How to Make Gluten Free Bread Taste Better
Making the best gluten free bread isn’t just about texture; flavor matters, too. Here are a few ways to enhance both:
- Honey or Maple Syrup: Adding a small amount of honey or maple syrup not only helps the bread stay moist but also brings out a natural sweetness that complements the gluten-free flours. This subtle sweetness can make your best gluten free bread taste far better than store-bought varieties.
- Apple Cider Vinegar: A tablespoon of apple cider vinegar helps improve the rise of your bread and adds a mild tang, which balances out the flavors and helps the bread achieve a more traditional taste.
- Eggs for Richness: Eggs are essential in gluten-free baking as they contribute both to flavor and texture. The proteins in the eggs help the dough rise and provide that golden, inviting crust. For an even richer taste, consider using extra egg yolks.
For added texture and flavor, think about incorporating seeds, nuts, or even herbs. Chia seeds, sunflower seeds, or pumpkin seeds not only give your best gluten free bread a crunch but also boost its nutritional value. Fresh herbs like rosemary or thyme can add a savory element, making the bread perfect for sandwiches or to serve alongside soups.
Storing and Reheating Gluten Free Bread
Once you’ve baked the best gluten free bread, you’ll want to make sure it stays fresh and delicious for as long as possible. Gluten-free bread tends to spoil faster than regular bread, so knowing how to store and reheat it properly is essential. In this section, we’ll walk you through the best ways to store, reheat, and make your best gluten free bread last longer.
Best Ways to Store Gluten Free Bread
One of the key factors in making the best gluten free bread last is how you store it. Since gluten-free bread doesn’t contain preservatives like its gluten-filled counterparts, it tends to spoil faster. Proper storage can help extend its freshness.
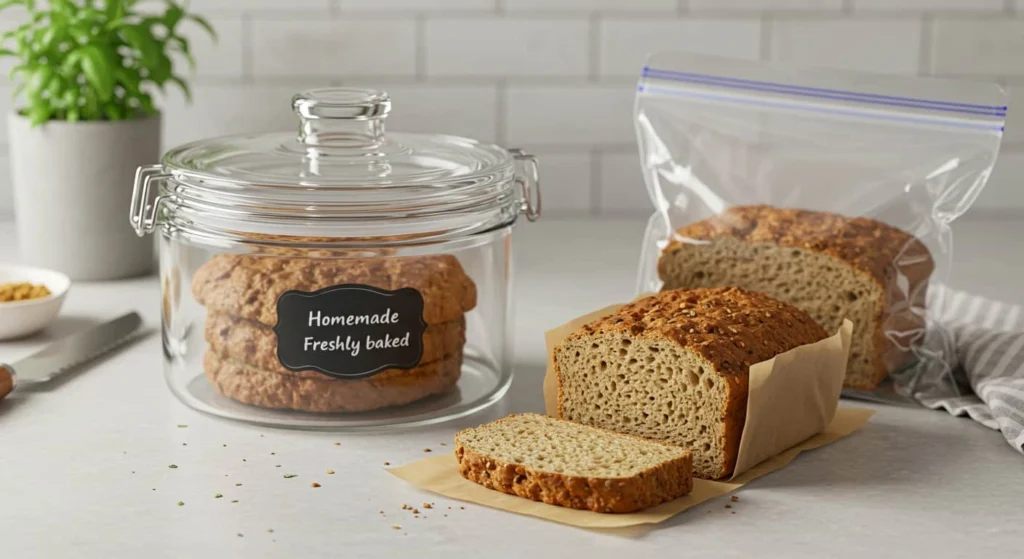
- Room Temperature Storage: If you plan to consume your best gluten free bread within a few days, you can store it in a bread box or on the countertop. However, make sure it’s in an airtight container or wrapped in a clean kitchen towel. The moisture in gluten-free bread can cause it to mold quickly if left exposed to air.
- Fridge vs. Freezer Storage: Storing your best gluten free bread in the refrigerator is a good option if you want to extend its life for a week. However, the bread may dry out a little faster in the fridge due to the cooler, drier environment. To keep it from getting stale, try wrapping it tightly in plastic wrap or placing it in an airtight container.If you want to keep your gluten-free bread fresh for several weeks, freezing it is your best bet. Slice the bread prior to freezing to allow for convenient retrieval of individual portions as needed. Wrap each slice in plastic wrap or foil and store it in a resealable freezer bag. When stored correctly, your best gluten free bread can stay fresh in the freezer for up to 3 months.
How to Reheat Gluten Free Bread for the Best Texture
Reheating gluten-free bread can be tricky since it tends to dry out easily. However, there are a few methods that work better than others to restore its soft, fresh texture.
- Toaster: The toaster is one of the best methods for reheating best gluten free bread, especially if you just need a couple of slices. Toasting brings back the crispness of the crust while keeping the interior soft. It’s a quick and easy way to enjoy your gluten-free bread as if it were freshly baked.
- Oven: For larger portions or whole loaves, reheating your best gluten free bread in the oven is a great option. Preheat your oven to 350°F (175°C), then carefully wrap the bread in aluminum foil to preserve its moisture and ensure even reheating. Heat for 10-15 minutes, or until the bread is warmed through. This method restores the bread’s soft texture and fresh flavor without drying it out.
- Microwave: While microwaving is the quickest method, it’s also the most likely to leave your best gluten free bread soggy. If you’re in a rush, wrap a slice of bread in a damp paper towel and microwave it for 15-20 seconds. This will help retain moisture but won’t give you that crispy crust.
Can You Make Gluten Free Bread Last Longer?
Yes, with the right storage methods, you can make your best gluten free bread last longer. Here are some helpful tips to keep your bread fresh for as long as possible:
- Proper Containers: Use airtight containers or resealable plastic bags to store your gluten-free bread. This will protect the bread from air and moisture, both of which contribute to spoilage. If you’ve sliced the bread, make sure to wrap individual slices so that they stay fresh longer.
- Moisture Control: One of the most important aspects of storing gluten-free bread is keeping it from drying out. While freezing works well for long-term storage, remember that the bread can dry out in the fridge or on the counter if not wrapped properly. Try placing a small piece of paper towel inside the storage bag or container to absorb excess moisture and keep your bread from becoming soggy.
Final Thoughts: Finding or Making the Best Gluten Free Bread
In the quest for the best gluten free bread, it’s clear that both store-bought options and homemade recipes can deliver exceptional results. Whether you choose to bake your own loaf or find a brand that suits your taste, the key is to focus on quality ingredients and proper techniques. From using the right gluten-free flours to ensuring proper storage and reheating, each step plays a role in achieving that perfect loaf.
If you’re new to gluten-free baking, don’t be afraid to experiment with different flour blends and recipes until you find what works best for you. Homemade bread often surpasses store-bought varieties in both texture and flavor, making it a rewarding endeavor. Remember, there is no one-size-fits-all solution—what makes the best gluten free bread for you might be different from someone else’s preferences, so enjoy the journey of discovering your ideal recipe!
For more insights on perfecting your best gluten free bread, check out these Expert Gluten-Free Bread Baking Tips from the Celiac Disease Foundation.
We’d love to hear from you! Share your favorite gluten free bread brands or recipes in the comments below, and let’s continue to support each other in finding and perfecting the best gluten free bread out there!
For more ways to enjoy your best gluten free bread, check out these Delicious Gluten-Free Breakfast Ideas for inspiration!
Want the Best Gluten Free Bread? Here’s the Secret!
A soft, fluffy, and delicious gluten free bread recipe that’s perfect for sandwiches, toast, or enjoying with butter and honey. This foolproof recipe uses a blend of gluten-free flours and essential binders to achieve the perfect texture and taste.
Type: Breakfast
Cuisine: Gluten Free, Baking
Keywords: Best gluten free bread, gluten free bread recipe, homemade gluten free bread, easy gluten free bread, fluffy gluten free bread
Recipe Yield: 10 slices
Calories: 150 kcal
Preparation Time: PT15M
Cooking Time: PT45M
Total Time: PT2H
Recipe Ingredients:
- 2 cups (240g) gluten-free all-purpose flour
- ½ cup (60g) almond flour
- 1 tbsp psyllium husk powder
- 1 tsp xanthan gum
- 1 tbsp sugar or honey
- 1 packet (2 ¼ tsp) active dry yeast
- 1 tsp salt
- ¾ cup (180ml) warm water (110°F/45°C)
- 2 large eggs (room temperature)
- ¼ cup (60ml) olive oil or melted butter
- 1 tsp apple cider vinegar

Something you mentioned reminded me, it made me think of something I had lying around, just a little side bit.]
Since we’re already talking about it, I jotted something down, [url=https://maba-3d-druck.de]this bit[/url] might be close to what we’re saying, in case it’s useful.
Blame you for sharing this!
https://hentai0day.com/
It’s ever interesting to see distinguishable perspectives on this topic.
I esteem the creation and detail spell out into this notify – it provides valuable insights and for all gives me something to ponder about.
Looking insolent to more felicity like this!