Introduction:
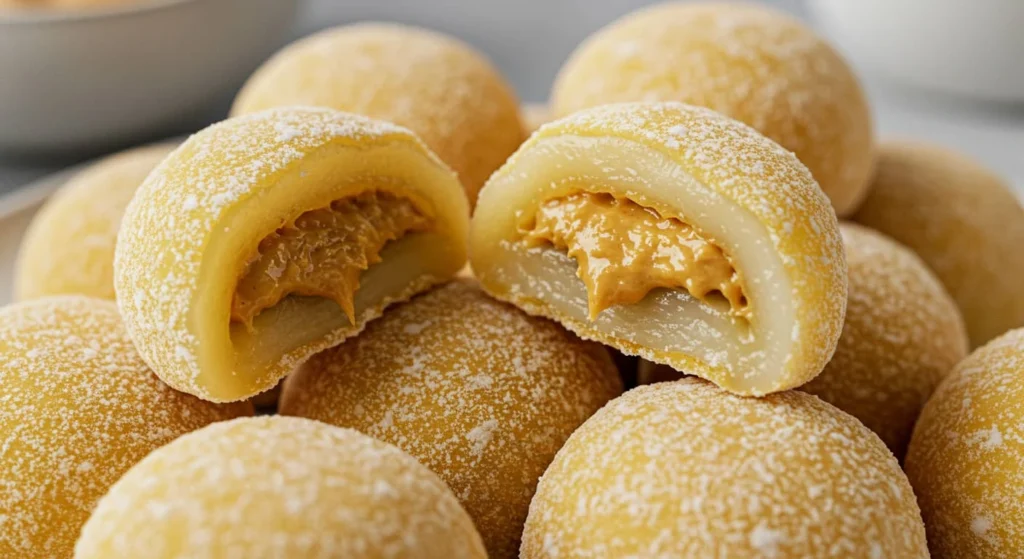
If you’ve never tried peanut butter mochi recipe, you’re in for an unforgettable treat. Imagine the soft, chewy texture of traditional mochi, but with the creamy richness of peanut butter. It’s the perfect combination of comforting and indulgent, and trust me, one bite will have you hooked. Peanut butter mochi has skyrocketed in popularity lately, becoming a beloved dessert that blends the best of both worlds: the nostalgic chewiness of mochi and the satisfying depth of peanut butter.
What makes this peanut butter mochi recipe so irresistible is its simplicity and flavor-packed punch. Unlike other complicated desserts, this recipe is incredibly easy to follow, making it a great option for both beginners and seasoned bakers alike. Whether you’re a mochi aficionado or a peanut butter enthusiast, this unique twist on a classic treat is sure to satisfy your cravings and leave you wanting more. The beauty of this recipe is its versatility—mix and match fillings, add toppings, or even swap ingredients to suit your preferences.
In this post, we’re going to walk you through everything you need to know to make your very own peanut butter mochi. From the essential ingredients to helpful tips for perfect results every time, we’ve got you covered. Plus, we’ll explore some creative variations to make this peanut butter mochi recipe truly your own. So grab your ingredients, and let’s dive into creating this sweet, chewy, and irresistible dessert!

Table of Contents
Ingredients and Tools You’ll Need
To make your perfect peanut butter mochi recipe, here’s a breakdown of the key ingredients, along with the necessary tools to get the job done.

Key Ingredients
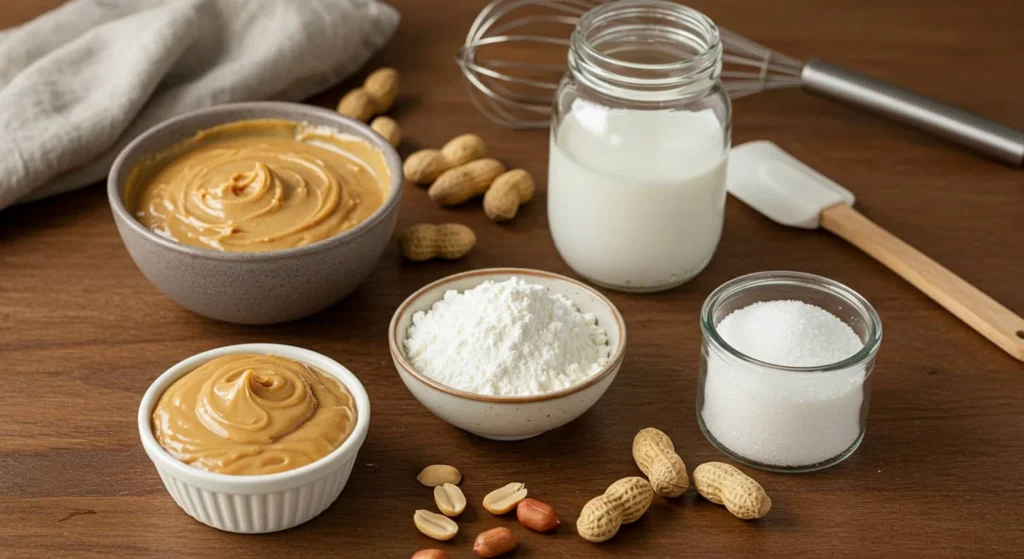
- Mochiko Flour (Sweet Rice Flour) – 1 cup
This is the key ingredient for achieving the chewy, sticky texture that mochi is known for. Mochiko flour (also called sweet rice flour) is different from regular rice flour, so be sure to use the correct one for that perfect mochi consistency. - Peanut Butter – ½ cup
Peanut butter is the heart of this peanut butter mochi recipe! You can choose between creamy, chunky, or even natural peanut butter depending on your texture preference. Creamy peanut butter will blend seamlessly into the dough, while chunky peanut butter will give your mochi a delightful bit of crunch. - Sugar – 3 tablespoons
Sugar balances out the flavors and brings a touch of sweetness to the mochi without overwhelming the peanut butter’s natural flavor. You can adjust the sweetness to your liking, but this amount is perfect for keeping it subtle and not too sugary. - Coconut Milk or Water – ½ cup
Coconut milk adds a subtle richness and depth to the dough, making it extra smooth. If you prefer a lighter option, you can substitute it with water, but coconut milk will make the texture more indulgent and flavorful. - Vanilla Extract – ½ teaspoon (optional)
Vanilla extract can bring a beautiful warmth to the peanut butter mochi, enhancing its flavor profile without stealing the spotlight from the peanut butter. This step is optional but highly recommended for an extra layer of flavor. - Cornstarch or Potato Starch – For dusting
This is essential for preventing the sticky dough from sticking to your hands, work surface, and tools. It’s a must-have to shape the mochi easily and to prevent any mess while handling it. - A Pinch of Salt (optional)
A tiny pinch of salt can help bring out the natural sweetness of the peanut butter and balance the flavors in the dough. It’s a small touch but can make a big difference.
Tools for Making Mochi
Having the right tools on hand will make the process of preparing your peanut butter mochi so much easier. Here are the essentials you’ll need:
- Microwave-Safe Bowl or Steaming Equipment
You can make your peanut butter mochi in the microwave or by steaming it. A microwave-safe bowl works perfectly for the quick, easy method, while steaming offers a more traditional approach. Both methods yield great results, so choose based on your preference or available equipment. - Rubber Spatula
A rubber spatula is essential when handling the sticky mochi dough. It’ll help you mix and scrape down the sides of your bowl as you go, ensuring everything gets well combined without creating too much mess. - Cornstarch or Potato Starch
As mentioned earlier, these starches help prevent your mochi dough from sticking to your hands and work surface. Be generous with the starch—it’ll make all the difference when shaping the dough into the perfect little mochi pieces. - Cutting Board or Tray for Shaping
After cooking the mochi, you’ll need a clean, flat surface to shape it. A cutting board or a tray lined with parchment paper works perfectly for this. It’s also a good idea to lightly dust the surface with cornstarch to prevent any sticking.
Ingredient Substitutions
If you’re looking to make your peanut butter mochi recipe a bit more tailored to your dietary preferences or available ingredients, here are a few easy swaps:
- Gluten-Free Option:
This peanut butter mochi recipe is naturally gluten-free, thanks to the mochiko flour. However, if you need to avoid other gluten-containing ingredients, double-check your peanut butter for hidden gluten and opt for certified gluten-free options for everything else. - Dairy-Free Alternatives:
If you need a dairy-free version of this peanut butter mochi recipe, simply swap the coconut milk with almond milk, oat milk, or another dairy-free milk alternative. These substitutions will work perfectly and maintain the mochi’s smooth, chewy texture. - Sweetener Swaps:
If you prefer to use a more natural sweetener, feel free to substitute the granulated sugar with honey, maple syrup, or monk fruit sweetener. These swaps will provide a slightly different flavor and sweetness, so adjust the amount to your taste.
Step-by-Step Guide to Making Peanut Butter Mochi
Now that you have your ingredients and tools ready, it’s time to dive into making the most irresistible peanut butter mochi recipe. Whether you’re a beginner or an experienced baker, this guide will walk you through each step with clear instructions to ensure your mochi turns out perfectly every time.

Preparing the Batter
The first step to making your peanut butter mochi recipe is preparing the batter. In a large mixing bowl, combine 1 cup of mochiko flour and 3 tablespoons of sugar. Mix these dry ingredients well to ensure the sugar is evenly distributed throughout the flour.
Next, add ½ cup of coconut milk (or water if you prefer) and stir until the batter starts to form a smooth, thick consistency. You want the mixture to be somewhat like a pancake batter, but slightly thicker. Slowly incorporate ½ cup of peanut butter into the batter, mixing until it’s fully integrated. The peanut butter should create a smooth, velvety texture, and you should no longer see any lumps or streaks. This step ensures the peanut butter is evenly distributed throughout the dough, giving every bite of your peanut butter mochi that delicious, creamy flavor.
Cooking the Mochi
Once your batter is smooth and well-mixed, it’s time to cook the mochi. There are two methods to choose from: microwave or steaming. Both work perfectly, so choose the one that best fits your kitchen setup
- Microwave Method:
Pour the batter into a microwave-safe bowl and cover it with a microwave-safe lid or plastic wrap.Place the batter in the microwave and heat it on high for 2 minutes. After the first interval, remove it and stir thoroughly to ensure the mixture cooks evenly. Return it to the microwave for another 1-2 minutes, stirring every 30 seconds until the batter thickens into a sticky, stretchy consistency. When done, you should be able to stretch and pull the dough slightly with your spatula, indicating that it’s ready for shaping. - Steaming Method:
If you don’t have a microwave, no worries! Pour the batter into a heatproof dish or bowl that will fit in your steamer. Steam the batter over high heat for 25-30 minutes, stirring every 10 minutes to ensure even cooking. The batter should turn into a sticky dough after steaming, and you’ll be able to see it thicken up to that signature mochi texture.
Shaping the Mochi
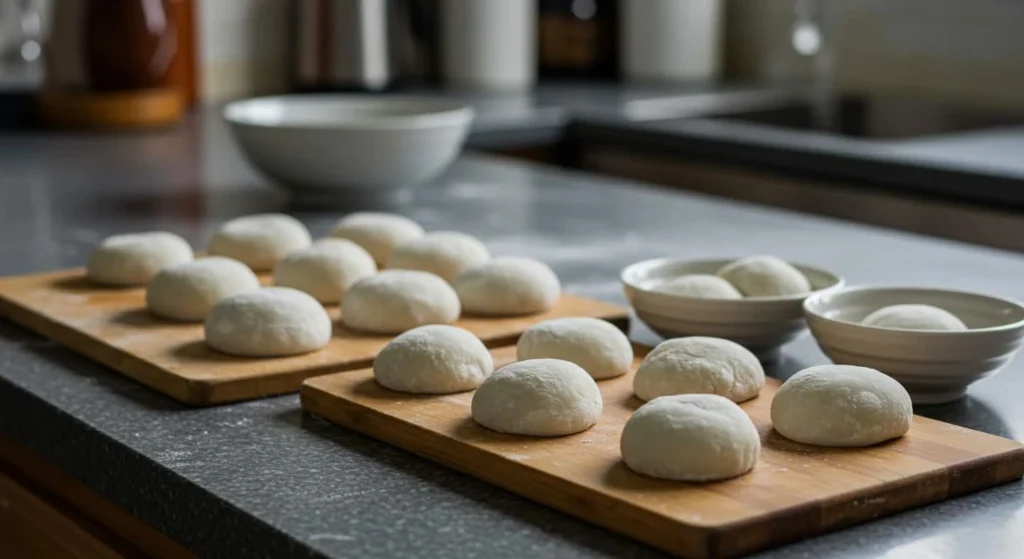
After cooking, it’s time to shape your peanut butter mochi! Keep in mind that the dough will be very sticky, so be sure to have some cornstarch or potato starch on hand to dust your hands and work surface. This will prevent the dough from sticking to your skin and make shaping it much easier.
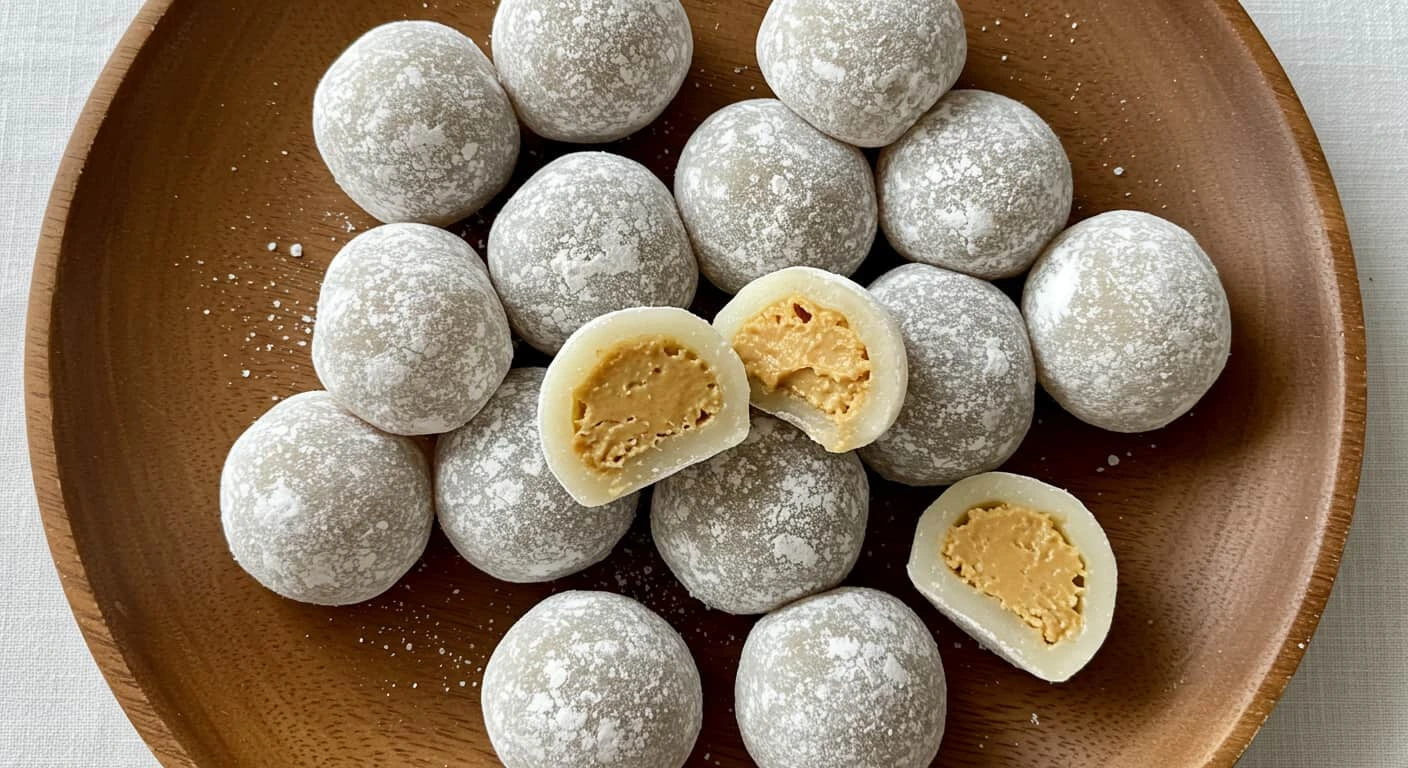
Once your surface is dusted, scoop out small amounts of dough and roll them into small balls or shape them into squares, whichever you prefer. You can also get creative with fillings! For an extra peanut butter punch, place a small dollop of peanut butter in the center of each ball, or add a few chocolate chips or a spoonful of jam for a surprise filling in every bite. After shaping, dust the peanut butter mochi pieces lightly with more cornstarch to prevent them from sticking together.
Cooling and Serving
After shaping your peanut butter mochi, it’s important to let it cool down properly. The cooling process is key to ensuring the mochi firms up to its signature chewy texture without becoming too hard or dry. Allow the mochi to cool at room temperature for 30 minutes. If you prefer a slightly firmer texture, you can refrigerate the mochi for an hour or two.
When it’s time to serve, the peanut butter mochi can be enjoyed fresh and warm for that extra soft chew, or you can let it chill for a slightly firmer texture. Serve them as bite-sized snacks, after dinner, or as a fun treat at a party. They also make a perfect gift, especially when wrapped up in a cute box or tin.
Tips for Perfect Peanut Butter Mochi Every Time
Making the perfect peanut butter mochi recipe can be a fun and rewarding experience, but even small mistakes can affect the texture and flavor of your final product. Here are some tips to ensure your peanut butter mochi turns out flawless every time.
Common Mistakes to Avoid
- Overmixing the Batter: While it might seem like a good idea to mix the batter until it’s completely smooth, overmixing can result in tough, dense mochi. The key is to mix the ingredients just until everything is combined. Mochi dough should have a thick yet slightly sticky consistency, so resist the urge to keep stirring once it reaches this point.
- Using the Wrong Type of Flour: It’s easy to assume that any type of rice flour will work, but to get that signature chewy texture, mochiko flour is absolutely essential. Mochiko is made from glutinous rice, which gives the dough its characteristic elasticity. If you use regular rice flour, you may end up with a mochi that lacks that satisfying chew.
Enhancing Flavor
- Add a Hint of Vanilla or Cinnamon: For an added layer of depth in your peanut butter mochi recipe, try incorporating a splash of vanilla extract or a pinch of cinnamon. These spices complement the peanut butter perfectly, adding warmth and a subtle complexity to the flavor without overpowering the main ingredients.
- Drizzle with Melted Chocolate or Caramel: To take your peanut butter mochi to the next level, try drizzling melted chocolate or caramel over the top before serving. The richness of chocolate or the buttery sweetness of caramel pairs beautifully with the nutty, creamy peanut butter, making your mochi even more indulgent and visually appealing.
Storage Tips
- Storing for Freshness: Once your peanut butter mochi has cooled, place it in an airtight container to preserve its softness and freshness. Store it at room temperature for up to two days, or refrigerate it for longer shelf life. Be sure to line the container with parchment paper to prevent the pieces from sticking together.
- Reheating for the Perfect Texture: If you’re storing your mochi in the fridge, you can easily restore its chewy texture by lightly microwaving it for 10–15 seconds. This will bring it back to its soft, gooey consistency. Just be careful not to overheat, as it can cause the mochi to become too tough.
Variations and Creative Twists
The great thing about the peanut butter mochi recipe is that it’s incredibly versatile. You can experiment with different flavors, fillings, and shapes to create your own signature twist on this delicious treat. Here are some fun variations and ideas to help you take yourpeanut butter mochi recipe to new heights.
Flavor Variations
- Matcha peanut butter mochi recipe: If you’re a fan of the unique flavor of matcha, why not add it to your peanut butter mochi recipe? Simply mix 1–2 teaspoons of matcha powder into the batter along with the sugar and mochiko flour. The earthy bitterness of matcha pairs beautifully with the creamy peanut butter, creating a perfectly balanced dessert with a vibrant green color. It’s a fun twist that will impress matcha lovers and add an exciting new flavor dimension to your mochi.
- Chocolate Peanut Butter Mochi: For a richer and more indulgent version, consider adding 2–3 tablespoons of cocoa powder to the dough. The cocoa adds a deep chocolate flavor that complements the peanut butter, turning your peanut butter mochi into a delightful chocolate-peanut butter combo. You can also fold in chocolate chips or chunks to make it even more decadent!
Fun Shapes and Sizes
- Mini Mochi Bites: If you want to make your peanut butter mochi recipe even more fun, try shaping it into mini-sized bites. These bite-sized pieces are perfect for snacking, serving at parties, or packing in lunchboxes. Simply scoop out smaller portions of dough, shape them into little balls, and enjoy a perfectly portioned treat every time. These tiny morsels are sure to be a crowd-pleaser!
- Mochi Pops: For a playful twist, why not turn your peanut butter mochi recipe into mochi pops? After shaping the dough into balls, gently insert a stick (like a lollipop stick or wooden skewer) into each piece before steaming or microwaving. These cute mochi pops make for an interactive and fun snack that’s perfect for kids and adults alike. Plus, they’re great for taking on the go!
Filling Ideas
- Peanut Butter and Jelly Mochi: For a nostalgic twist, try filling your peanut butter mochi with a little fruit jam, such as strawberry or raspberry, in the center. The combination of creamy peanut butter and sweet fruit preserves inside the chewy mochi creates a perfect fusion of flavors. It’s like eating a peanut butter and jelly sandwich, but in a more indulgent, bite-sized form.
- Nutty Mochi: If you’re craving some extra texture, consider adding chopped peanuts into the dough. The crunchy peanuts will complement the smooth peanut butter filling, adding a satisfying bite to every piece of mochi. You can even toast the peanuts lightly for an extra burst of flavor before folding them into the dough. This variation is great for anyone who loves a bit of crunch with their chewy desserts.
Vegan and Healthier Versions
- Natural Peanut Butter: For a cleaner, healthier version of your peanut butter mochi recipe, opt for natural peanut butter that contains only peanuts (and possibly a little salt). This eliminates any added sugars or unhealthy oils that are often found in traditional peanut butters, giving you a more wholesome treat. The natural peanut butter will still provide that delicious creamy texture and rich peanut flavor, but without the extra additives.
- Lower-Sugar Alternatives: If you’re watching your sugar intake but still want to enjoy the sweet, nutty goodness of peanut butter mochi, try substituting the sugar with lower-sugar alternatives such as monk fruit sweetener, stevia, or even a bit of honey or maple syrup. You can adjust the sweetness to your preference, making it easier to enjoy a guilt-free version of this delicious dessert.
Conclusion
The peanut butter mochi recipe is the perfect combination of simplicity, flavor, and versatility. It’s a dessert that’s easy to make, yet deeply satisfying with its chewy texture and creamy peanut butter flavor. Whether you enjoy it as-is or decide to get creative with fun shapes, fillings, or flavor variations, this peanut butter mochi recipe is bound to impress.
We encourage you to give this recipe a try and experiment with your own twists! Whether you add a touch of matcha, chocolate, or peanut butter and jelly centers, there’s no limit to how you can personalize your mochi. It’s a wonderful opportunity to get creative in the kitchen while enjoying a delicious treat.
Have you tried this peanut butter mochi recipe? We’d love to hear how it turned out for you! Share your experience in the comments below or let us know your favorite variation. If you’re craving more mochi inspiration, be sure to check out our other recipes, like Blueberry Mochi or Banana Mochi , for even more ways to indulge in this delightful dessert!
If this peanut butter mochi recipe has you craving more peanut butter treats, check out this peanut butter mochi recipe for another delicious take on this classic dessert.

